

-
On September 4, 2026
How to Measure a Replacement Door Correctly
A replacement door can transform a drafty entrance, improve curb appeal, and give your property a stronger first line of defense. But a beautiful new composite, uPVC, or glazed door will only perform as it should if the measurements are right. Knowing how to measure replacement door sizes before requesting a quote helps you have a clearer conversation with your installer and spot any obvious issues around the existing frame.
The key is to measure the opening that will receive the new door, not simply the old door leaf. Frames are rarely perfectly square, older properties can have uneven brickwork, and a few millimeters can affect how the door opens, seals, and locks. Take your time, record every figure, and treat your measurements as a useful starting point rather than a final manufacturing specification.
What You Need Before You Measure
Use a rigid tape measure, not a fabric tape. Keep a pencil, paper, and phone camera nearby so you can write down figures and photograph anything unusual, such as damaged trim, a low threshold, or a side panel. A spirit level is helpful if the frame looks visibly uneven.
Measure in inches if that is how your supplier quotes, but do not round up or down. Record the exact measurement to the nearest 1/16 inch where possible. If you use millimeters, stay consistent throughout. Mixing units is an easy way to create a costly ordering error.
Open the door fully before you start. This lets you see the hinges, weatherstripping, threshold, frame condition, and whether the door swings inward or outward. These details matter just as much as the width and height.
How to Measure Replacement Door Width and Height
First decide what is being replaced. If you are keeping a sound frame and fitting only a new door slab, you measure the existing slab. If the frame, threshold, or sidelights are being replaced too, measure the structural opening and let a professional calculate the finished unit size.
Measuring for a replacement door slab
For a slab-only replacement, measure the old door itself, not the opening around it. Take the width across the top, middle, and bottom of the slab. Then measure height on both sides and through the center if the door is warped or damaged.
Use the smallest width and shortest height as your reference. A replacement slab that is too large will bind against the frame, while one that is too small can leave gaps that weaken security and let in cold air. Also measure the door thickness. Common exterior door thicknesses include 1-3/4 inches, but never assume yours is standard.
Check the hinge locations from the top edge of the door to the top of each hinge. Measure hinge height and note the hinge style. Then record the center of the handle bore and deadbolt bore from the top of the door. These details are particularly important when reusing an existing frame.
Measuring for a complete frame-and-door replacement
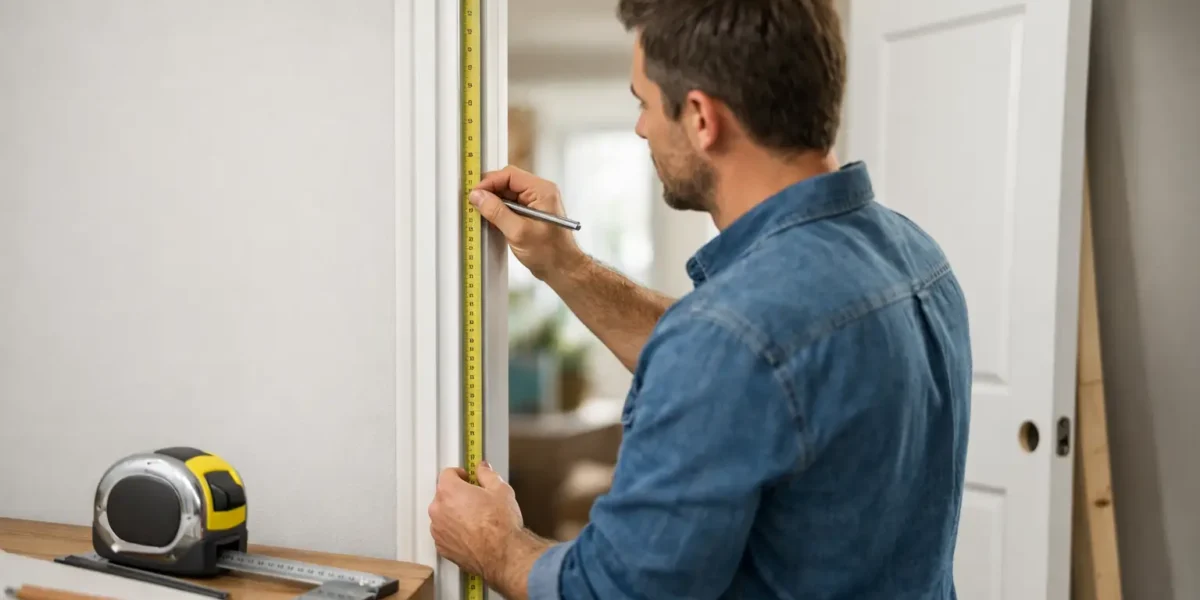
When replacing the full unit, remove or look behind interior trim only if you can do so safely without damaging the surrounding finish. Measure the width of the rough opening from the inside edge of one structural side to the other. Take this measurement at the top, center, and bottom.
Measure the opening height from the finished sill or subfloor to the underside of the header at the left, center, and right. Again, write down the smallest figure. Do not measure from the old door panel or from decorative casing, as neither tells you the true size available for a new frame.
Your installer needs room to level and shim the frame, so the door unit should not be manufactured to the exact rough-opening dimensions. The required fitting allowance varies with the product and condition of the opening. That is why a final site survey is worth having before an order is placed.
Measure the Frame Depth and Wall Thickness
Door width and height tell only part of the story. Measure frame depth from the interior face of the frame to the exterior face. If the wall is deeper than the new frame, an installer may need extensions, trim, or a tailored finish to avoid an awkward reveal.
For a brick, stone, or rendered exterior, look closely at how the existing frame meets the wall. Some older openings are not uniform from front to back. Taking photos from both sides helps identify whether the frame sits behind the masonry line and whether new finishing work may be needed.
A shallow measurement mistake may not stop the door from fitting, but it can leave a poor-looking result or create gaps that need unnecessary packing. For an exterior door, those gaps can also compromise weather resistance.
Check Swing Direction, Threshold, and Clearance
Stand outside facing the door. Note whether the hinges are on the left or right and whether the door opens toward you or away from you. For most residential exterior doors, it is also useful to describe the swing from inside the property. A clear note such as “hinges on left when viewed from outside, opens inward” removes ambiguity.
Look for anything that could interfere with the new door. Radiators, furniture, stairs, alarm sensors, porches, handrails, and screen doors can all limit the swing. If the entrance opens onto a shared path or busy commercial walkway, outward opening may have practical or access implications.
Measure the threshold area too. Check the difference in level between inside and outside, and note any existing step, drainage channel, or floor finish that meets the sill. A low threshold can improve accessibility, but it must also be detailed correctly to keep rainwater out.
Do Not Forget Sidelights, Transoms, and Glass Panels
If your entrance includes narrow glass panels beside the door, a glazed fanlight above it, or a full porch enclosure, treat the whole setup as one system. Measure the overall width and height of the complete opening, then separately measure the door, each sidelight, and the transom.
Note whether the glass is fixed or opening and whether you want to keep the same arrangement. Replacing a single door with a door-and-sidelight combination can bring more natural light into a hallway, but it may require changes to the opening and will affect the total cost. Decorative glass also has privacy, maintenance, and energy-performance trade-offs to consider.
Common Measuring Mistakes That Cause Trouble
The most common error is measuring only once. Frames move over time, especially in older homes, and openings can be wider at the top than the bottom. Measuring three points in each direction reveals whether the opening is square enough for a straightforward installation.
Another mistake is ordering based on the nominal size of the old door. A door described as 36 inches wide may not actually measure 36 inches, and the full framed unit will be substantially larger than the slab. Never assume a replacement product labeled with a familiar size will drop into place.
Avoid measuring over weatherstripping, trim, caulk, or temporary fillers. These materials can hide decay or make the opening look smaller than it is. If there is rot around a timber frame, cracking masonry, or evidence of water ingress, the repair should be addressed before the new unit is fitted.
Finally, do not overlook lock and handle positioning. A high-security multipoint locking door, a traditional mortise lock, and a smart lock may all need different preparation. Planning hardware early helps ensure the new door offers the security and style you expect.
When a Professional Survey Is the Better Choice
A careful homeowner can gather useful dimensions, particularly when comparing styles and getting an initial estimate. Final measurements are different. They need to account for out-of-square walls, structural movement, sill levels, drainage, thermal expansion, frame tolerances, and the chosen hardware.
A professional survey is especially worthwhile for composite doors, double-glazed doors, French doors, bi-folding doors, commercial entrances, and any opening with sidelights or damaged masonry. It protects your investment and helps avoid the frustration of a door that looks right but closes poorly or leaks around the edges.
At Bee Manchester, the goal is not simply to fit a door into a hole. It is to create an entrance that feels secure, shuts cleanly, keeps the weather where it belongs, and gives your property a finish worth buzzing about. Bring your initial measurements to the conversation, then let a proper survey turn them into a door that is made to fit.